Overview
This guide explains how to record, upload, share, caption, and delete videos using Microsoft Stream, now integrated with OneDrive and SharePoint in the Microsoft 365 environment for PCHS.
Stream makes it easy for students to submit video assignments, presentations, or screen recordings securely. This guide covers the following:
-
Recording a video (screen or webcam)
-
Uploading and sharing videos from OneDrive
-
Adding transcripts and captions
-
Deleting a video from OneDrive
Instructions
Sign in to Your PCHS Account in Office.com
Sign in to Your PCHS Account on Office.com
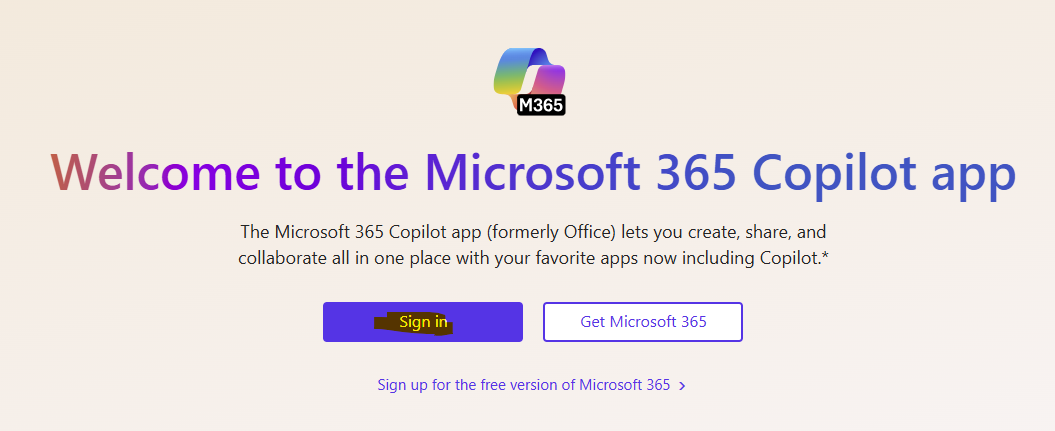
- Open a browser and go to: www.office.com
- Click Sign in Button. (You can ignore the Copilot app)
- Enter your PCHS email address and password.
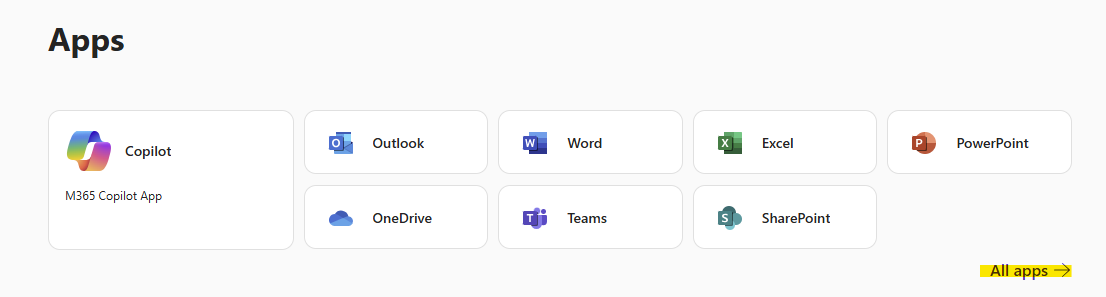
- Once logged in, click the App Launcher (grid icon) in the top-left corner.
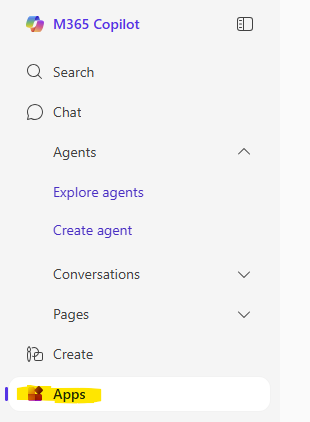
- Click on All apps and then on Stream to access Microsoft Video Stream Platform.
Recording a Video
How to Use the Screen Recording Option
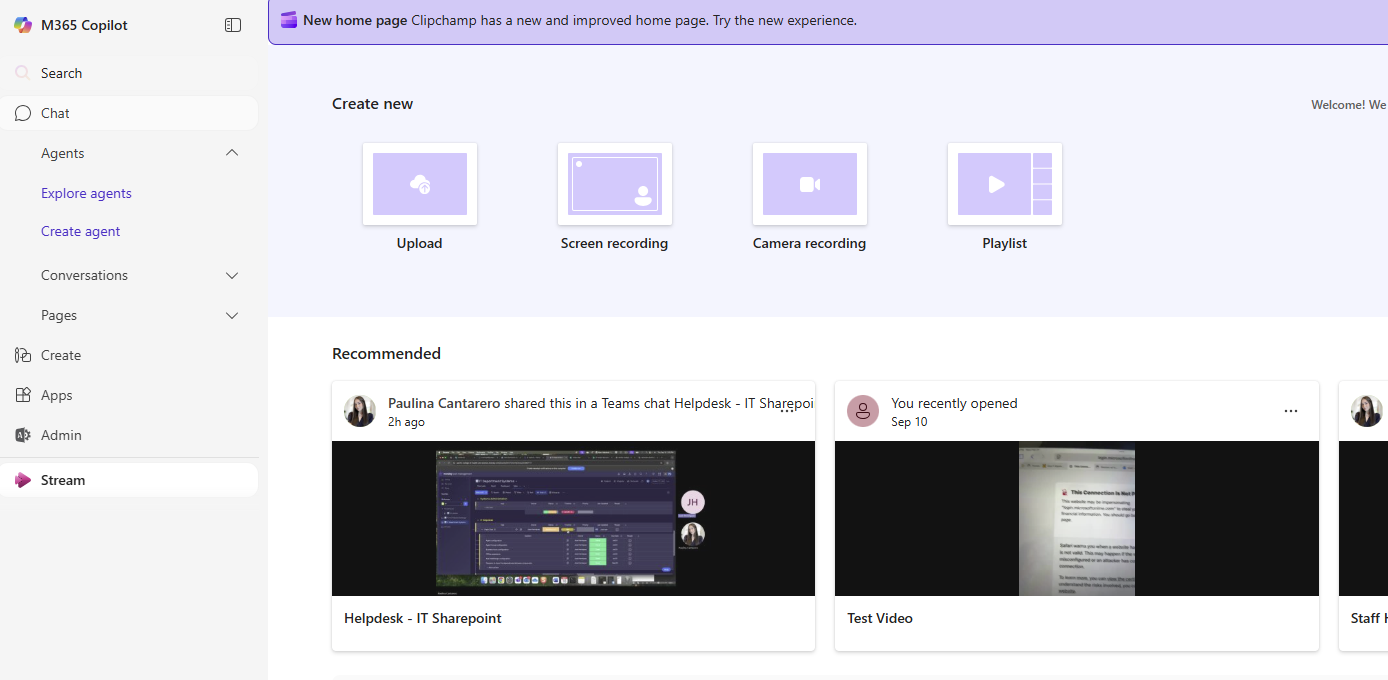
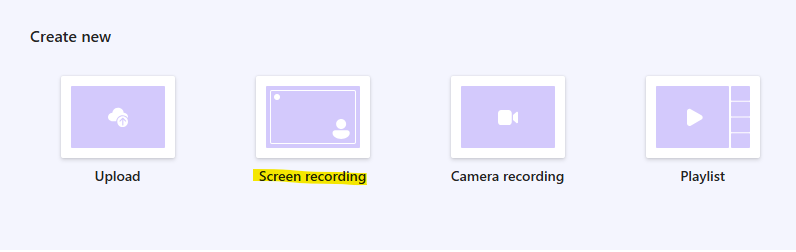
Step 1: Once on the Stream start page, select the Screen recording option.
Step 2: Once you have prepared your needed resources to commence the video, click on the button to Select a screen to record. If you wish to only record yourself, you can do so by clicking on the Record with camera only button at the bottom left corner of the screen.
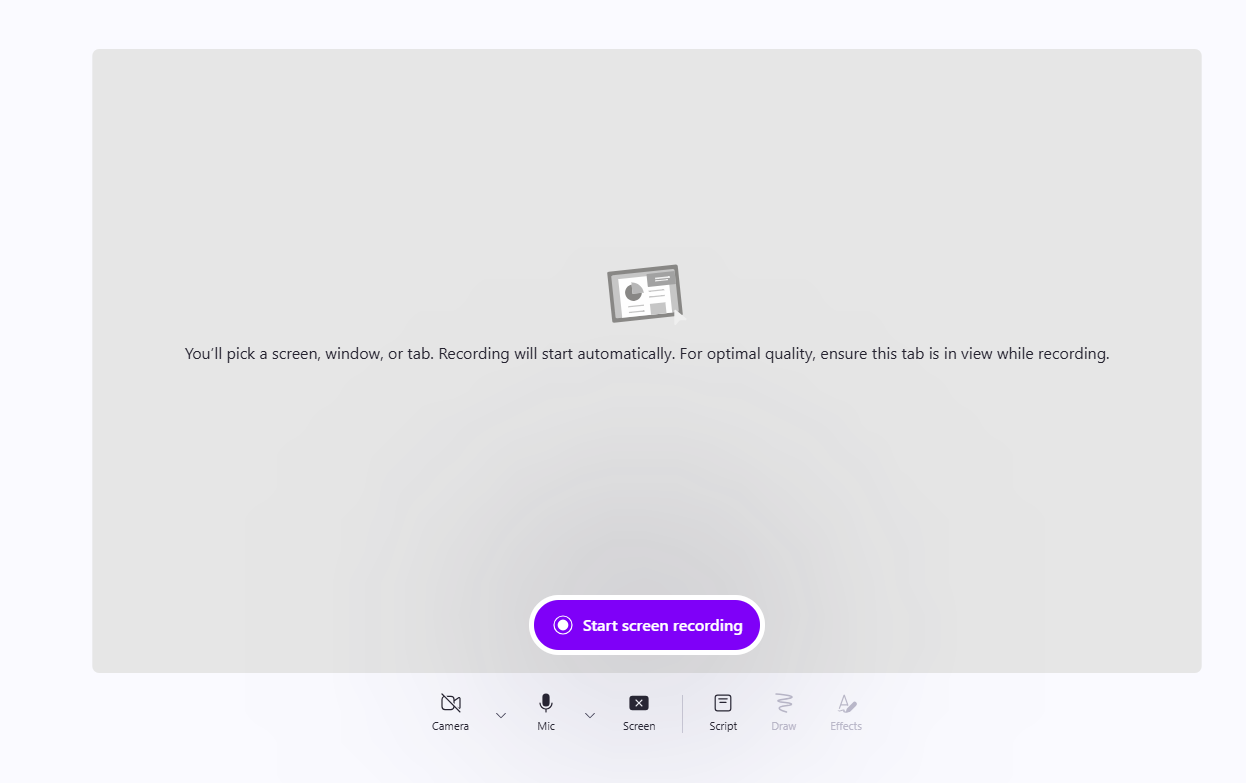
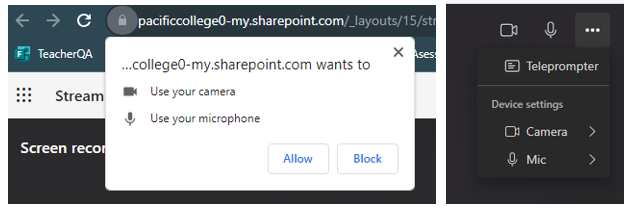
Step 3: If prompted to give access to your camera and microphone, click Allow. On this page, you can quickly enable or disable your camera and mic as needed using the icons in the top right corner. Additionally, you can adjust and test your camera and microphone settings through the menu.
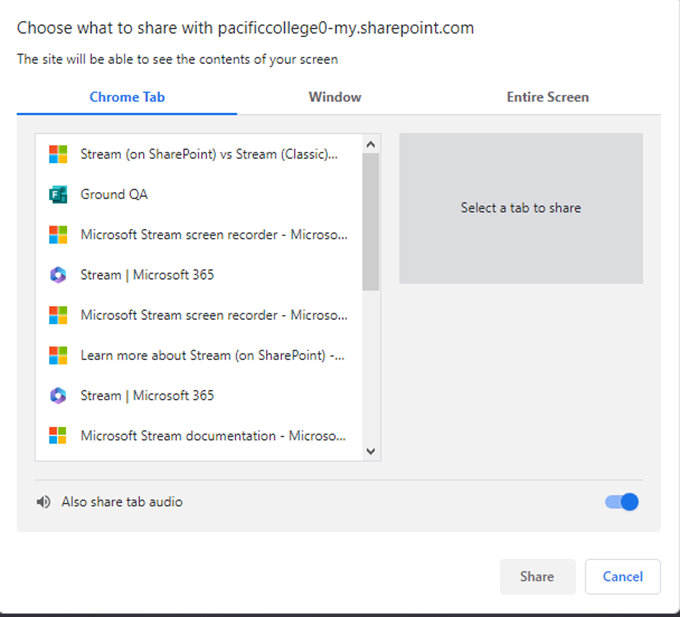
Step 4: Select the screen you wish to start recording and click on Share. A 3-second countdown will appear before the recording commences. (Note: You’ll only be able to record your camera and other content by choosing to share your entire screen. Make sure the “Also share tab audio” option is toggled on if your resource plays any audio.).
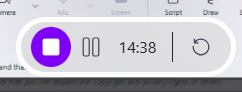
Step 5: Continue to record as needed. You can choose to take breaks by clicking on the Pause recording button and continue by clicking on Resume recording. (Note: Stream will let you record up to 15-minute clips at a time. You’ll see the time left to record on the top of the Stream screen.)
Step 6: Edit the video you just recorded by trimming, splitting, adding music, or deleting as you see fit.

Step 7: Once you’ve finished recording your clip, click on Finish.
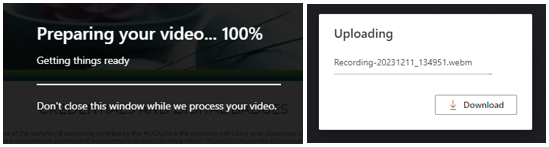
Step 8: Once you’ve finished with your video, select Finish. Wait a few minutes for Stream to prepare and upload your video.
Step 9: Once your video has been uploaded, it will be displayed in the Stream web app. Here, you’ll be able to edit or review other settings, such as the:
-
Title
-
Description
Click on each option to learn more about its use.
How to Use the Camera Recording Option
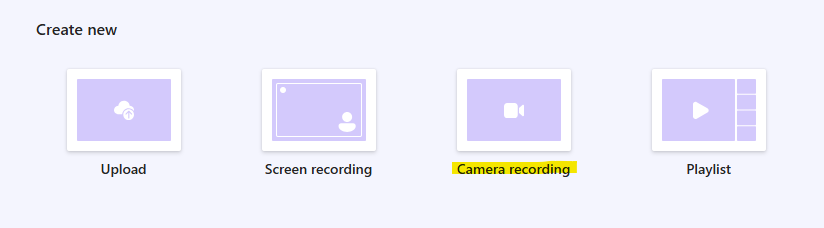
Step 1: Once on the Stream start page, select the Camera recording option.
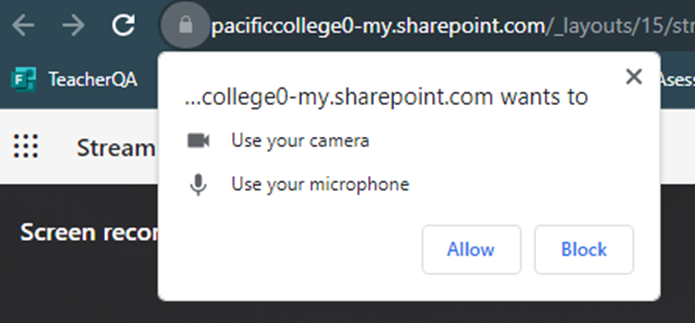
Step 2: If prompted to give access to your camera and microphone, click Allow.
Step 3: Before recording, you can edit your camera view in many ways.
-
You can set a background by pressing on the Backdrop button.
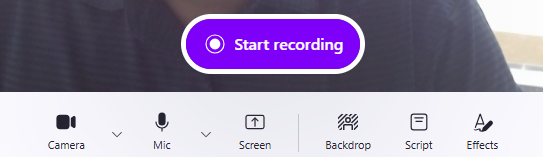
- You can choose to adjust any of the recording options shown in the menu below before you begin.
-
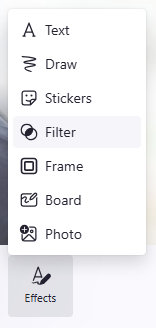
Additionally, you can add text, stickers, filters, frames, images, a board, or freehand draw on your screen using the side menu.
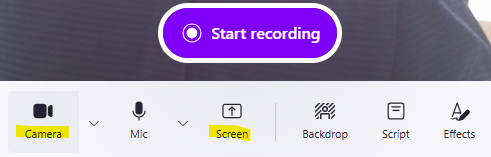
Step 4: You can toggle either Camera or Screen On and Off simultaneously or just have one as needed before recording.
Step 5: Continue to record as needed. You can choose to take breaks by clicking on the Pause recording button and continue by clicking on Resume recording. (Note: Stream will let you record up to 15-minute clips at a time. You’ll see the time left to record on the top of the Stream screen.)
Step 6: Edit the video you just recorded by trimming, splitting, adding music, or deleting as you see fit.
Step 7: Once you’ve finished recording your clip, click on Finish.
Step 8: Once you’ve finished with your video, select Finish. Wait a few minutes for Stream to prepare and upload your video.
Step 9: Once your video has been uploaded, it will be displayed in the Stream web app. Here, you’ll be able to edit or review other settings, such as the:
-
Title
-
Description
Click on each option to learn more about its use.
Uploading and Sharing Videos
Uploading Videos to Stream (OneDrive)
OneDrive is the default save location for all Stream videos. When uploading to Stream (Onedrive), it saves it to the top level (a.k.a. root folder) of OneDrive. This could cause some organizational issues. We highly recommend visiting OneDrive and saving your videos in your desired folder.
For more help uploading files to OneDrive, click here: Upload files in Onedrive
Once logged into OneDrive:
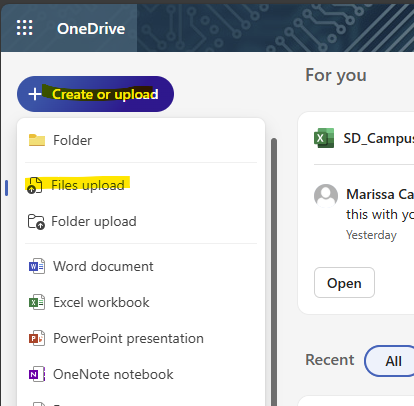
Step 1: Click on Create or Upload from the top top left corner.
Step 2: Select either Files Upload or Folder Upload.
Step 3: Please navigate to the file or folder and select it.
Step 4: Click on Upload.
Sharing Videos from Stream (Onedrive)
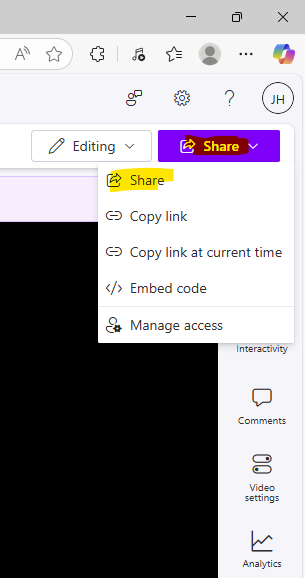
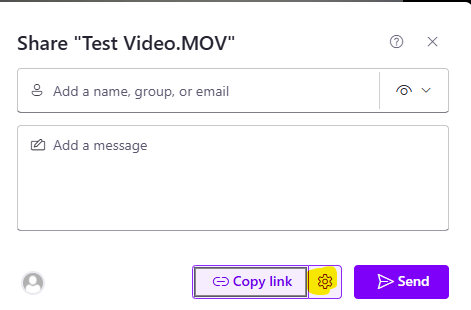
Step 1: Click “Share”
- In the top-right corner of the video, click the Share button.
- A sharing dialog will appear.
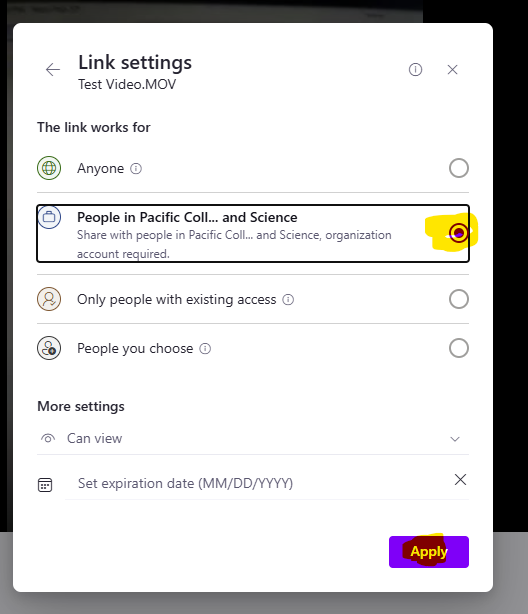
Step 2: Open Link Settings
- In the sharing window, click the gear icon
- This opens the sharing permissions options.
Step 3: Set Permissions to “People in Pacific College” options.
- Under “Who would you like this link to work for?”, choose: People in Pacific College
- Click Apply to confirm your selection.
**Important:
- This step ensures that only Pacific College users can access the video. If this is skipped, viewers may receive a “You don’t have access” error.
- Avoid using “Specific People” unless specifically instructed. This may unintentionally limit access and prevent instructors or classmates from viewing the video.
Step 4: Click “Copy Link”
- Once permissions are set, click the Copy Link button.
- The link will be copied to your clipboard.
For more help sharing files or videos from OneDrive, click here:
Transcript and Captions
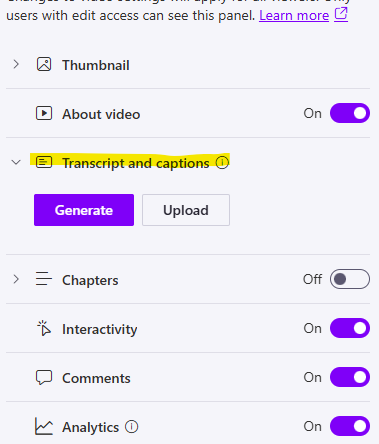
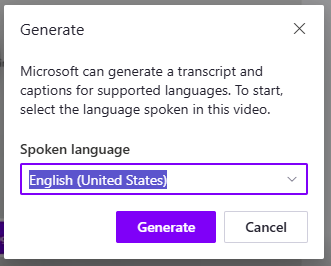
Stream (on SharePoint) allows you to generate the captions for your videos if needed. While you have to enable the transcripts manually, Microsoft is currently working on automatic captions.
Generate Transcripts
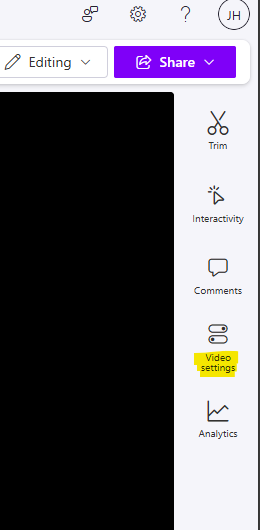
Step 1: Locate and open the video and click on Video Settings.
Edit Transcripts
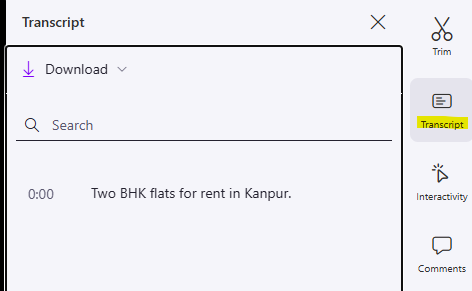
Step 1: Once you have opened the video and have already generated the captions, click on Transcripts.
Step 2: Locate the error in the transcripts and click Edit.
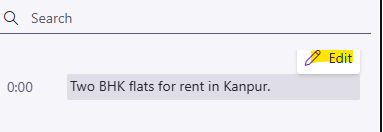
Step 3: When you are finished making your edits, click on Done.
Edit Transcripts
Edit Transcripts
Step 3: When you are finished making your edits, click on Done.
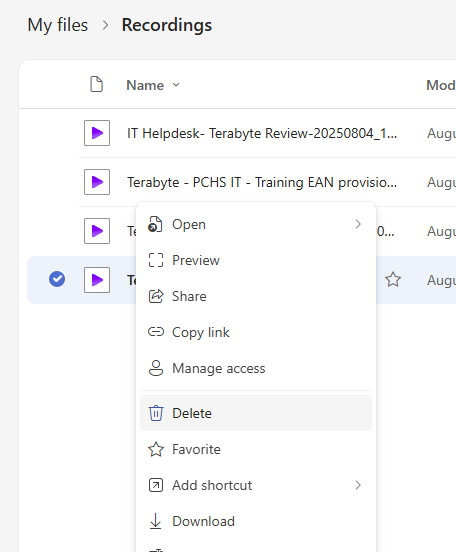
Deleting a Video File from Stream (on Onedrive)
Simply:
Step 1: Locate the file you wish to delete in OneDrive.