Overview
This guide will walk you through how to upload and share common file types such as Microsoft Word documents, Excel spreadsheets, PowerPoint slides, and PDF files using your OneDrive (Share Drive) in the PCHS Microsoft 365 environment.
You can also use this process for other supported file types like images, .txt files, ZIP archives, and more.
**Important: Always confirm your sharing permissions—incorrect settings may prevent your instructor or classmates from opening your file.
Instructions
Step 1: Sign in to Your PCHS Account on Office.com
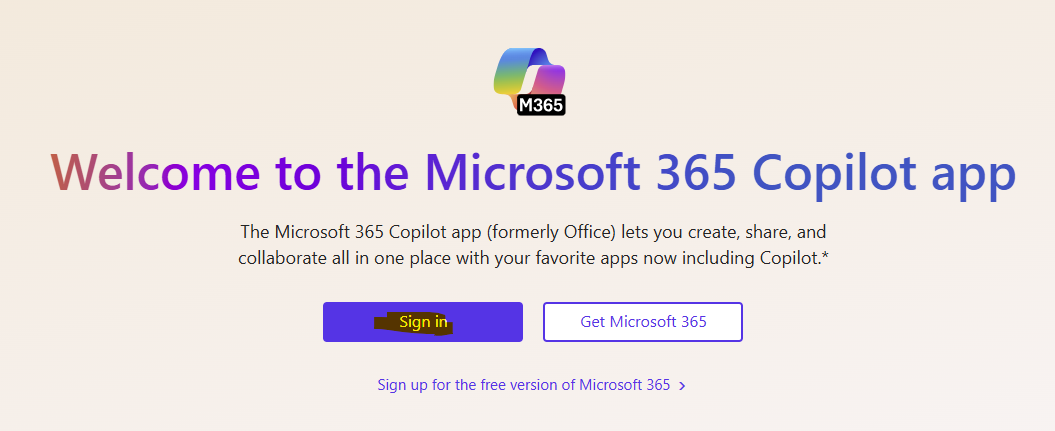
- Open a browser and go to: www.office.com
- Click Sign in Button. (You can ignore the Copilot app)
- Enter your PCHS email address and password.
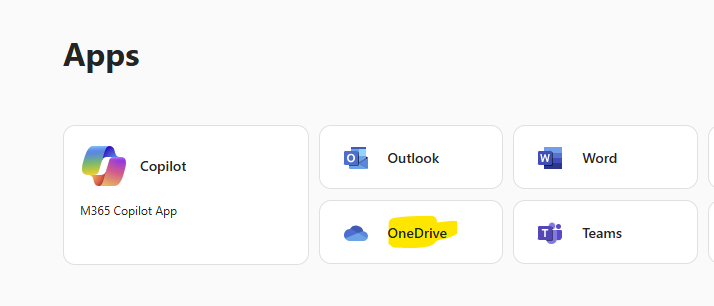
- Once logged in, click the App Launcher (grid icon) in the top-left corner.
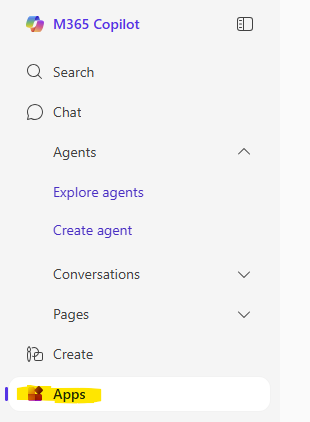
- Click on OneDrive to access your personal cloud storage (Share Drive).
Step 2: Upload your file
You can upload any of the following file types:
- Microsoft Office files (.docx, .pptx, .xlsx)
- PDF documents (.pdf)
- Images, .txt files, ZIP files, and more..
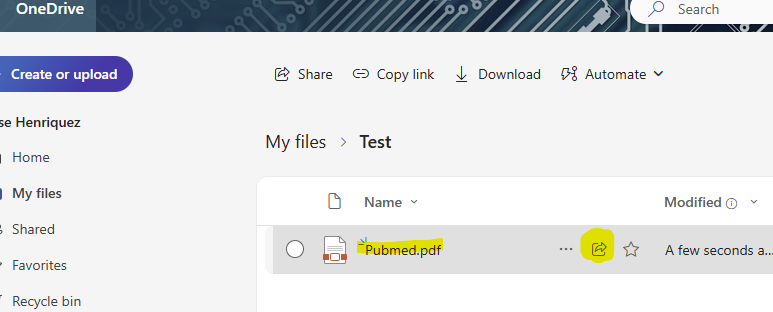
Step 3: Locate and Click on the File to Share
- Hover over the file you want to share.
- Click the “Share” button (a person icon with a +) next to the file name.
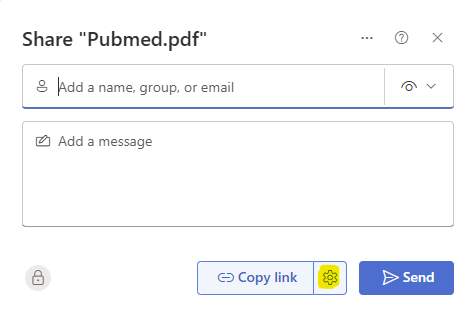
Step 4: Open Link Settings
- In the sharing window, click the gear icon
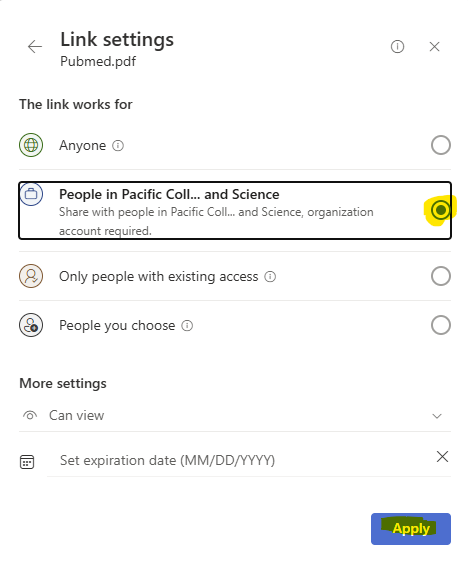
- Under “Who would you like this link to work for?”, select:
- People in Pacific College – recommended for instructors or classmates
- Click Apply to save the setting.
**Important: Avoid using “Specific People” unless your instructor specifically requires it. This can unintentionally limit access and may delay grading or feedback.
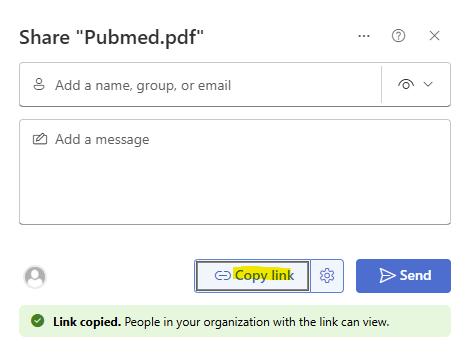
Step 5: Copy and Test Your Link
-
Click Copy Link to generate a shareable link.
-
Paste the link into a new browser tab (in incognito/private mode) or send it to a classmate to confirm it opens properly.
**Tip: Testing the link ensures the file is accessible before submitting it to your instructor.
Step 6: Share the Link for Your Assignment
Depending on your course platform and instructions, follow these options:
-
Paste the link into Moodle or Blackboard, especially if your instructor requests it via a submission input box.
-
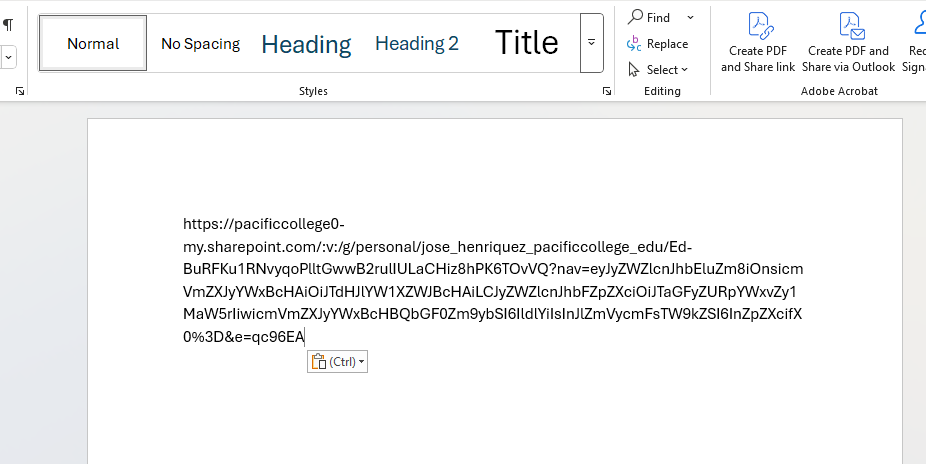
If the assignment requires file upload, open a Microsoft Word document, paste the link into it, save, and upload that document as your submission.
**Important: Always follow the assignment instructions exactly. If you’re unsure, contact your instructor to clarify how the file or link should be submitted.