Overview
This guide shows you how to export documents (Word, PowerPoint, or Excel) to PDF format using Microsoft Office Online with your PCHS student account. Exporting to PDF is useful when you need a locked, universally readable version of your file — especially for submitting assignments.
Important: Files exported to PDF cannot be edited unless converted back into an editable format. Make sure your content is final before exporting.
Instructions
Step 1: Sign in to Your PCHS Account on Office.com
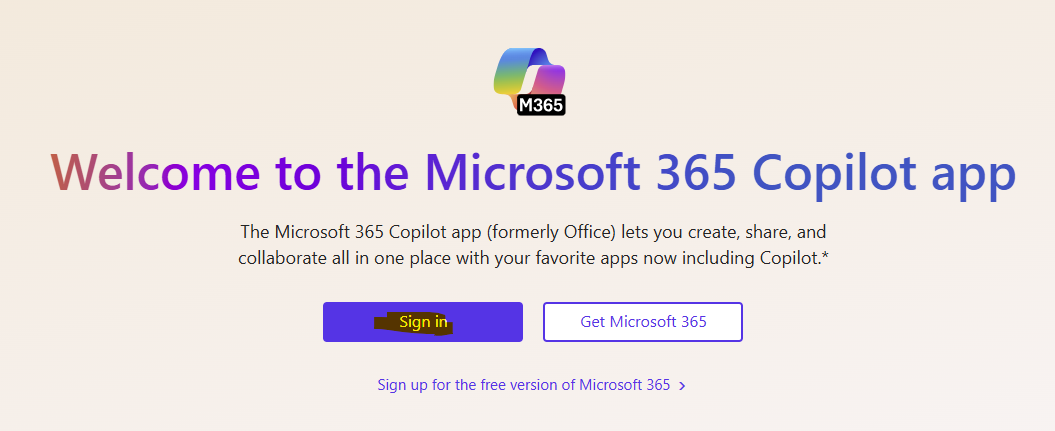
- Open a browser and go to: www.office.com
- Click Sign in Button. (You can ignore the Copilot app)
- Enter your PCHS email address and password.
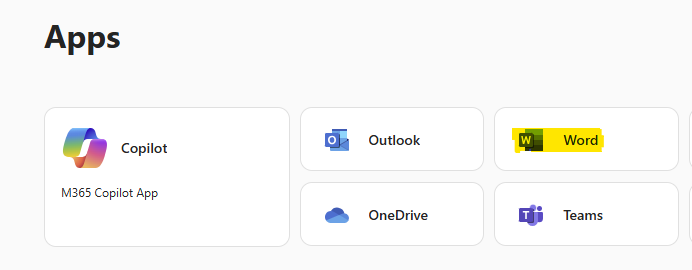
- Once logged in, click the App Launcher (grid icon) in the top-left corner.
- Click on Word icon to access Microsoft Word Online App.
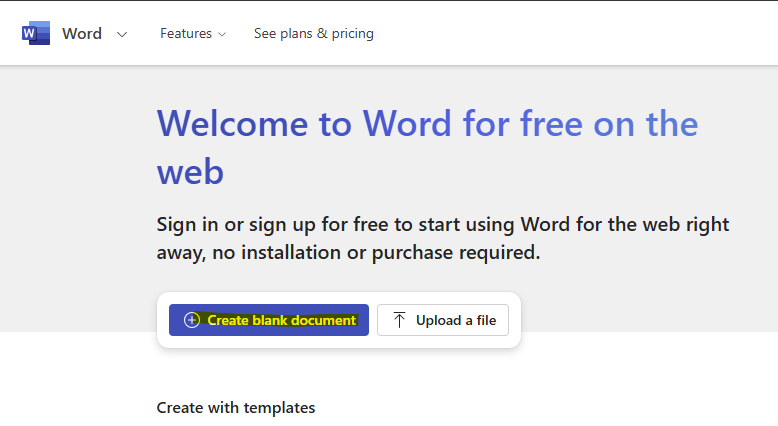
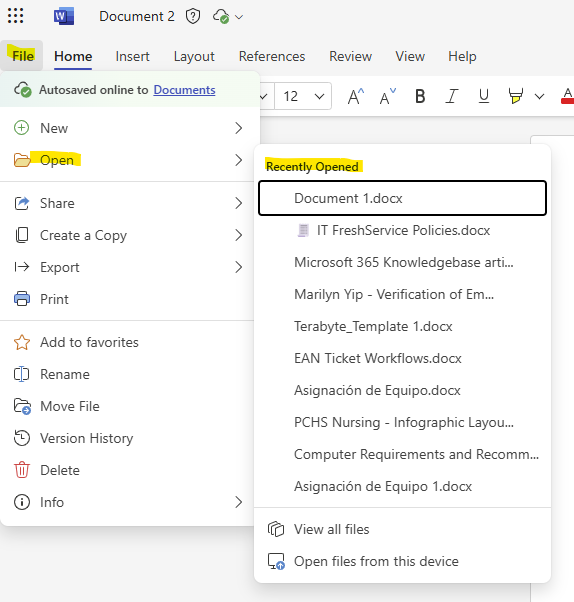
Step 2: Open or Create Your Document
-
Click New blank document (or presentation/spreadsheet), or
-
Choose an existing file under Recent or from your OneDrive
-
Make sure your file is complete before exporting
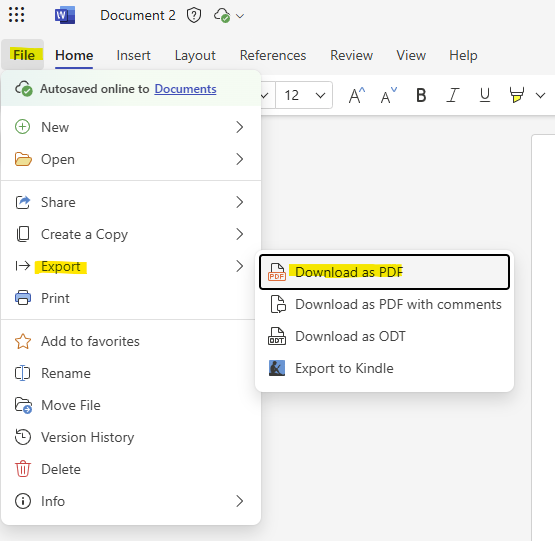
Step 3: Export as a PDF
-
With your file open, click File in the top-left corner
-
From the left menu, select Save As
-
Click Download as PDF
-
Your browser will automatically download a PDF version of the document
Step 4: Locate and Use the PDF File
- The PDF will download to your computer (usually in your Downloads folder)
- Open the file to make sure everything looks correct
- You can now upload it to Moodle, Blackboard, or email it as needed
Tip: Double-check the PDF before submitting it to make sure all formatting and content were preserved.
Additional Resources
Want to learn more about saving or printing files as PDFs? Check out Microsoft’s official guides: