This article explains how students use CourseKey for Clinic Shifts.
**Courses will not be available until 2 weeks before they begin. Access to CourseKey will not be available for students new to the system until 2 weeks before courses begins.
**Make sure your locations is turned on to check in with GPS technology.
Introduction: CourseKey uses GPS technology to detect your location and confirm you are in the appropriate location before allowing you to check in. This is a very secure method of capturing attendance for clinic shifts. This technology provides efficiency and accuracy for real-time attendance management.
Download the CourseKey Student App
For iPhone:
Go to the App Store.

Already in the App Store, search “CourseKey Student”. Click on “Get”.

Wait for the download to complete.

For Android:
Go to the Google Play Store.

Already in the Google Play Store, search “CourseKey Student”. Click on “Install”.
Wait for the download to complete.

Signing into CourseKey
Step 1: Log in to the CourseKey app using Single Sign On (do not enter your credentials in the first email/password fields, be sure to select “Single Sign On” first.

Step 2: Enter your Pacific College email address in the field “Your Corporate Email”. Click Single Sign On.
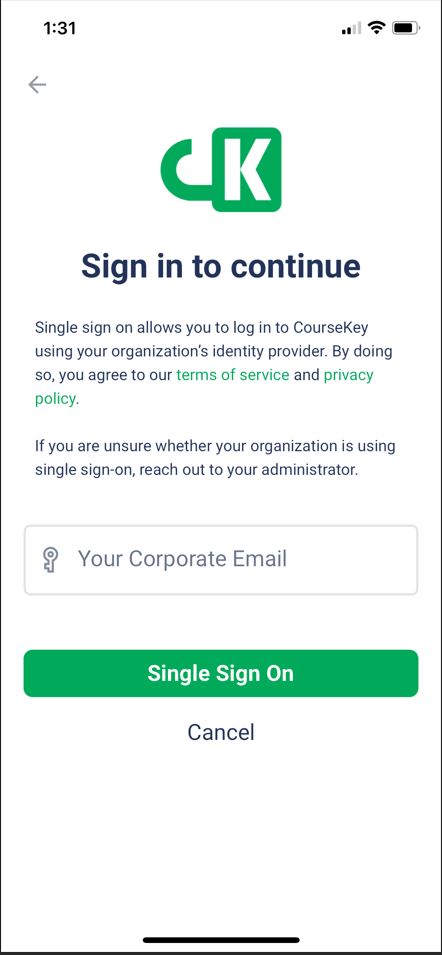
Step 3: You will be redirected to Microsoft/Pacific College authentication. Use your Pacific College credentials to log in and authenticate.

Login Complete.
How to Check In and Out of a Shift
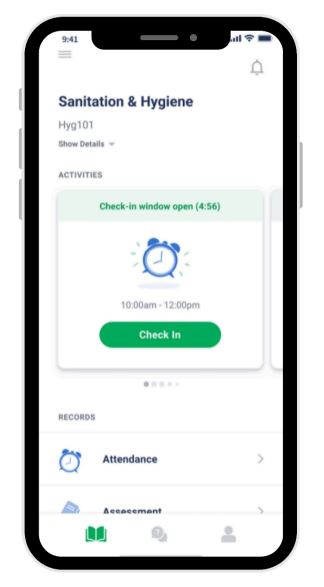
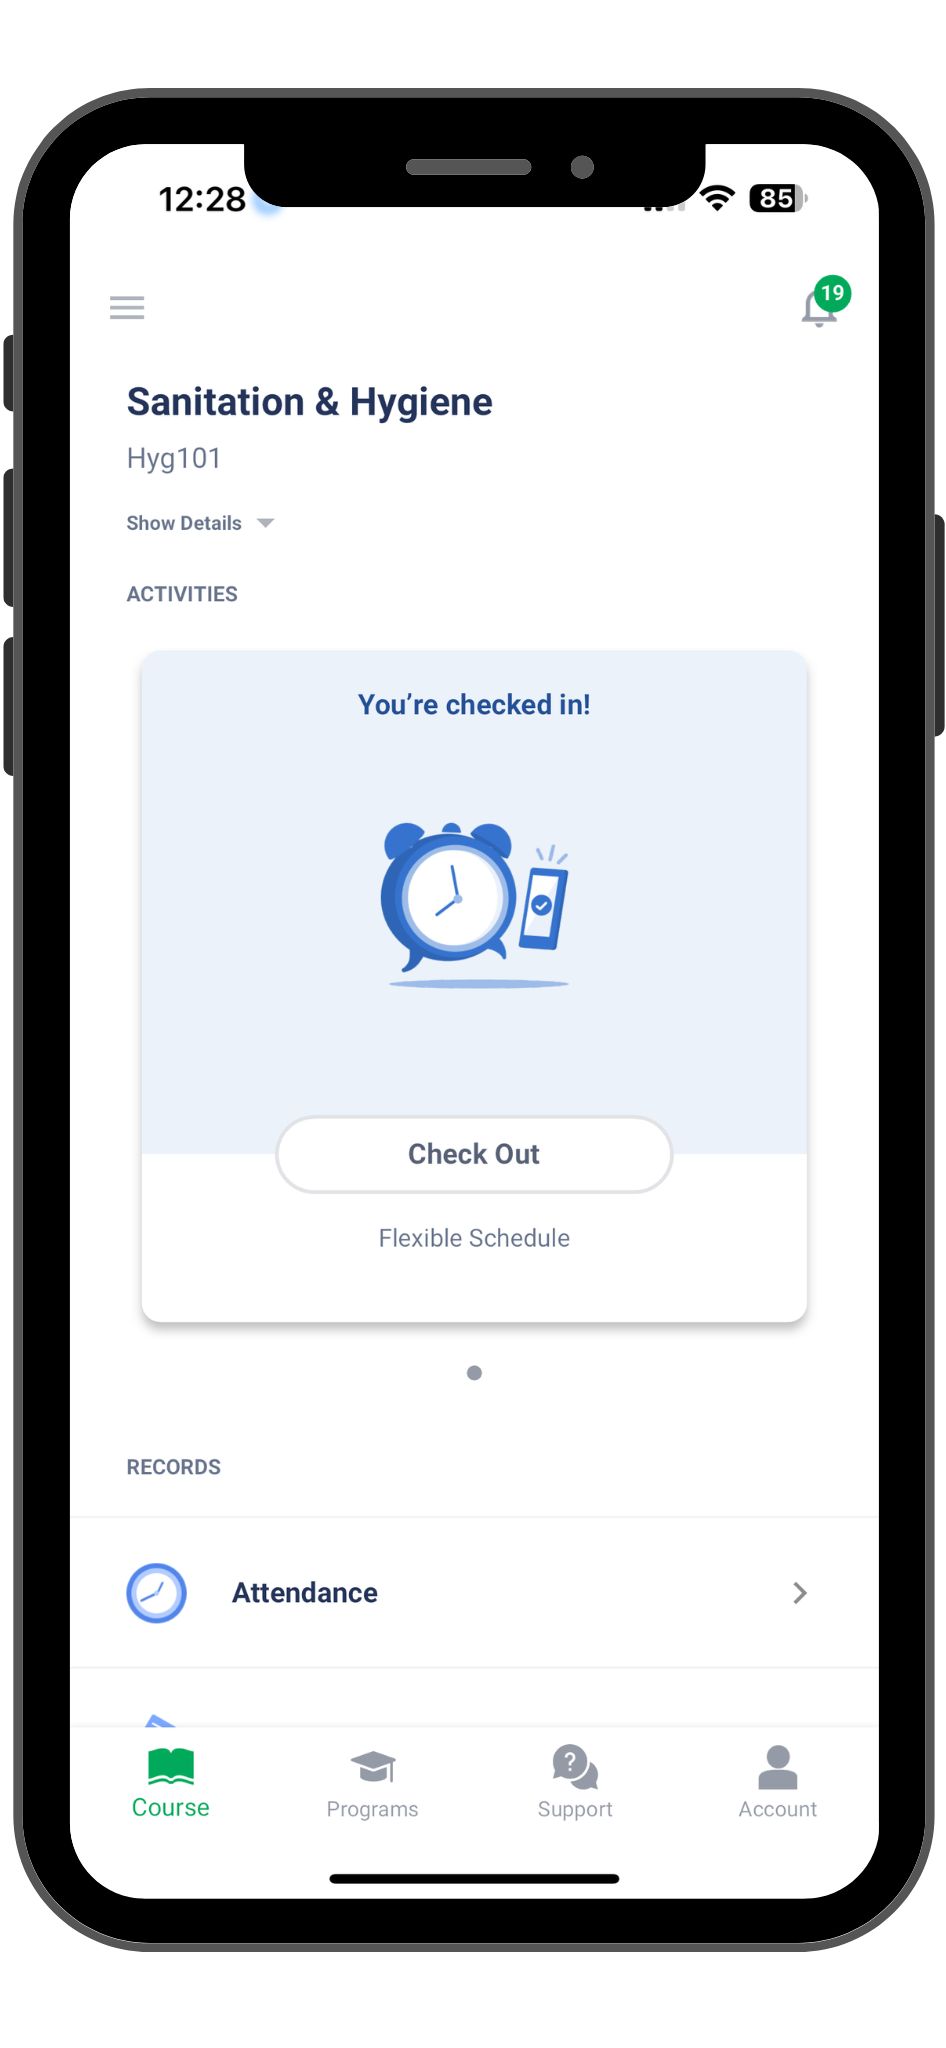
Step 1: When you enter the CourseKey app, your active course will be visible and available to check in.
**For GPS technology, make sure you are at the location within the geofence.
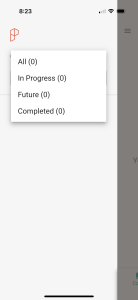
Select the three lines in the upper left hand corner to view your class schedule and other courses you are enrolled in.
When checking into CourseKey for your clinic attendance, please ensure that you select the appropriate clinic level corresponding to the course code (e.g., CL651 for Senior Internship 1, CL652 for Senior Internship 2, etc.).
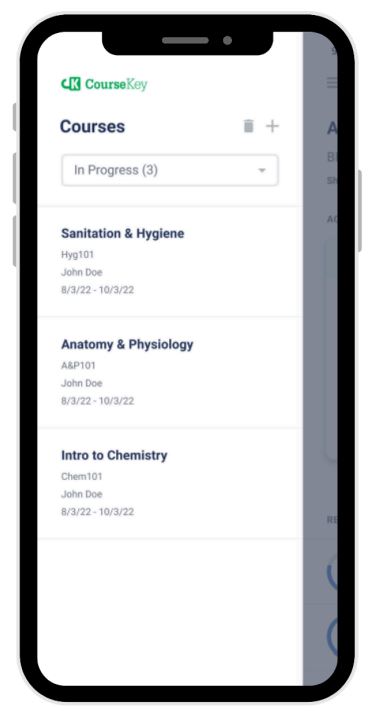
If you are not able to view courses that you are registered for, use the drop-down arrow to expand your filters. Note: Courses that have not yet started may be in Future status.
Step 2: Select the shift that you want to check in to.
There may be a list of several site locations/addresses. Select the correct site location.
Click on the Check In button on the attendance tile.
**For GPS technology, make sure you are at the location within the geofence.
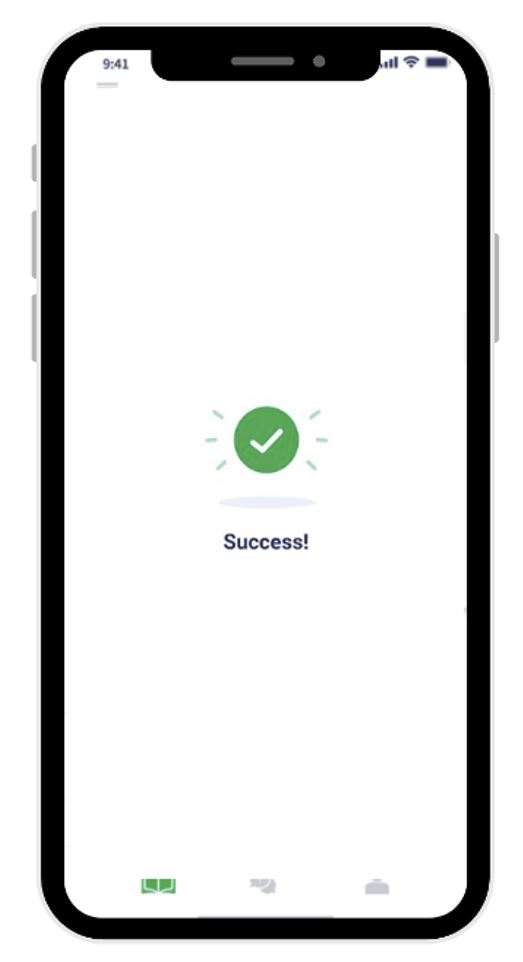
Step 2: Confirm that you have been checked in.
A “Success” message will briefly appear and a “You’re Checked in!” tag at the top of the attendance tile will indicate that you have been checked in.
Step 3: Check out.
To check out, simply repeat the process and click “Check Out.”
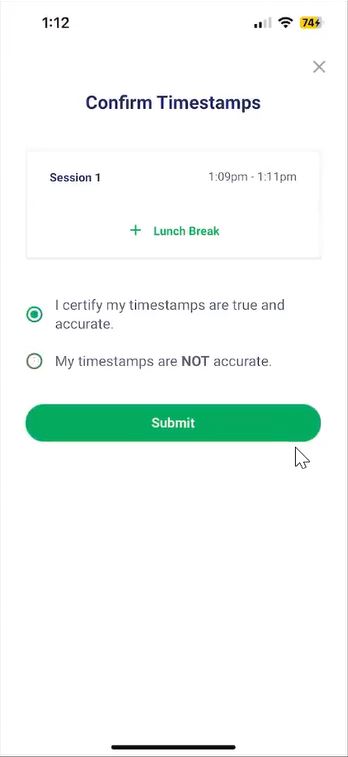
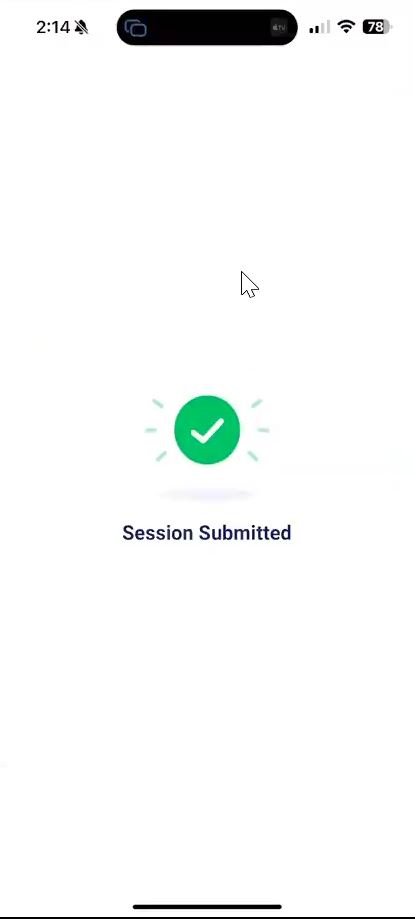
Confirm that your timestamp is true and accurate and click “submit.”
Make sure that the status is indicating your status as “Class Ended – You’re Checked Out”.
**If your timestamp is not accurate, select “My timestamps are NOT accurate,” and click “Submit.” Please contact your shift supervisor immediately.
**If you forget to check out, you will not receive time. Please contact your shift supervisor immediately.