In this article we will show you how to Print on Library Computers
In the computer
Step 1: Enter your PCHS credentials
After you print you will see the Papercut login page prompt below. Enter the same credentials you would use to log in to Moodle or the Wi-Fi, then click the “OK” button.
.png)
Step 2: Document held in queue notification
The next notification to emerge is one letting you know that your document is now being held in queue and that you need to go to the printer login and release the document.
.png)
Please proceed to go to the printer now.
At the printer
Step 3: You have 3 options
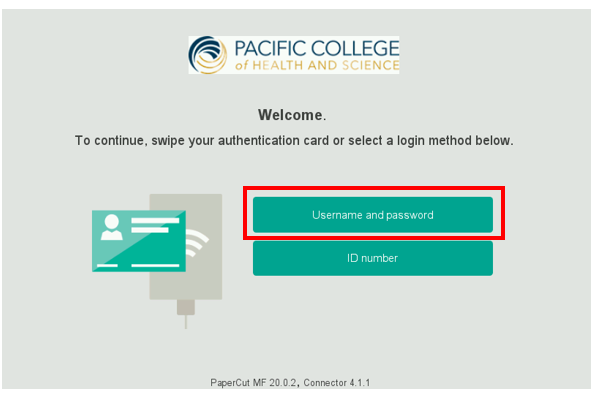
- Using your Username and password:
At the printer you will see the screen below. Now you can login to your account by logging in with your username and password.
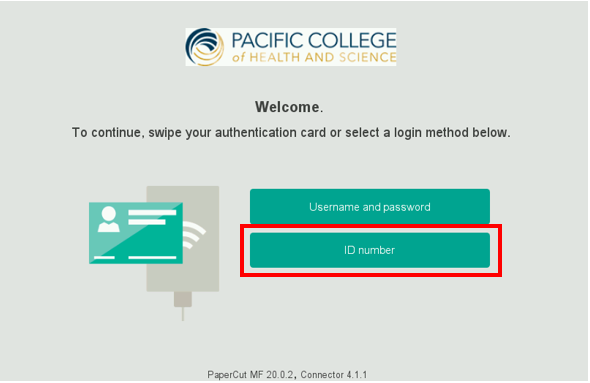
- Using the ID Number:
At the printer you will see the screen below. Now you can login to your account using your PIN Number.
- Using your access card (same as to get into the building):
At the printer, find the ID scanner as shown below. Tap the access card we provided to you on the reader and it will automatically log you in.
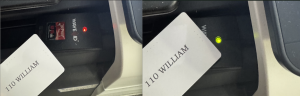
Beeps & turns green upon scanning
Step 4: press “Print”
Once you have logged in by scanning your access card (or logging in using your pin or credentials), you will see the screen below that shows the pending print job. You can click on the “Select All” button or individual job(s) that you want to print. Once selected, simply press “Print” and wait for the “print job released successfully” message.
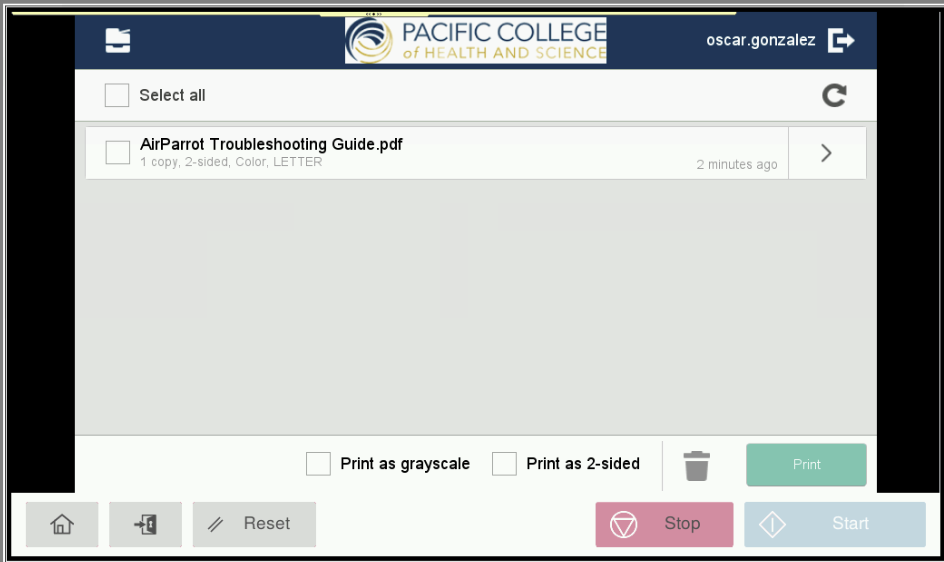
You are done, please retrieve your printed file from the printer.
If you encountered any problems during this process, contact our tech support team for assistance.