In this article we will show you how to add money to your Papercut account for printing
Step 1: browse the printing link
Open any browser and go to printing.pacificcollege.edu, once there you will see the login page below. Log in with the same credentials you would use for Moodle or the Wi-Fi.
.png)
Step 2: Add Credit
Once you have logged in click on the “Add Credit” section on the left-hand side of the page.

Step 3: choose the amount to add
From the “Add Credit” section choose the amount that you would like to add and then click “Add Value”.
.png)
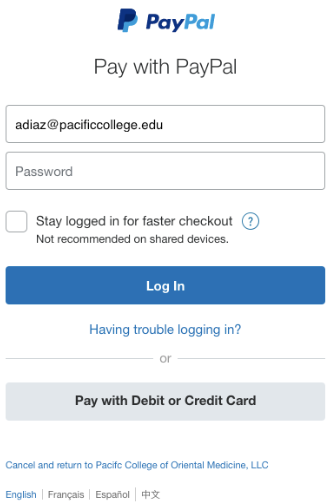
Step 4: PayPal system
It will automatically take you to a PayPal system. You can login with an existing PayPal account or you can click on “Pay with Debit or Credit Card”.
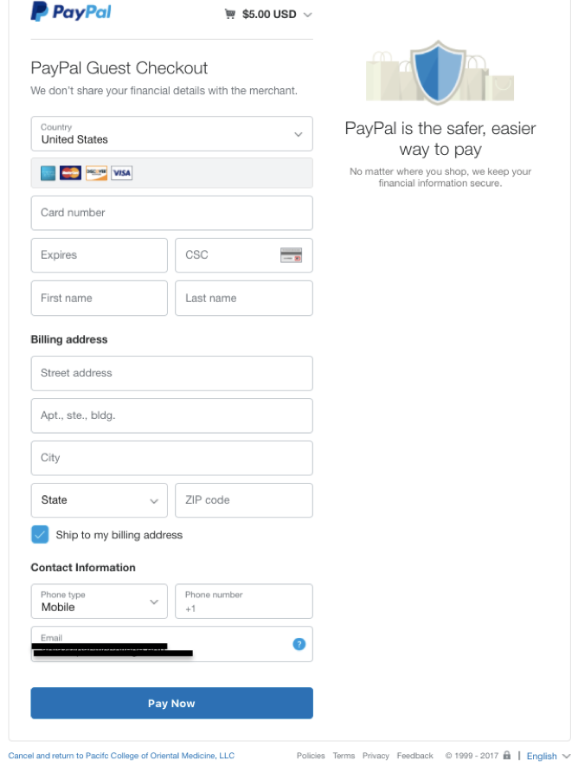
Step 5: PayPal – Pay with Debit or Credit Card
If you choose “Pay with Debit or Credit Card” it will take you to the screen below where you will enter in your credit or debit card info. Once you have filled out the information needed and clicked “Pay Now” it will confirm your payment and send a receipt to your email.
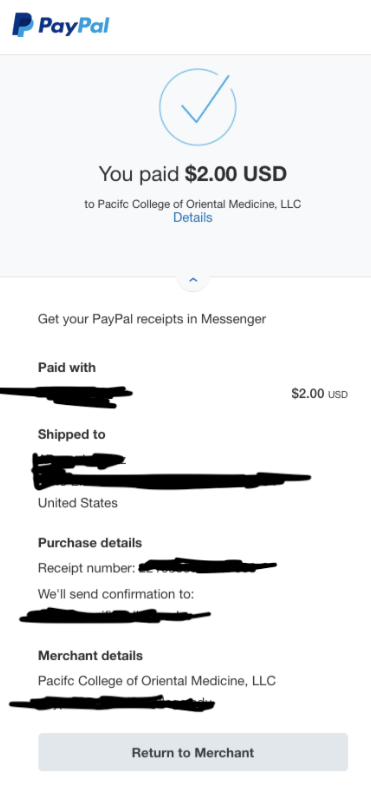
Step 6: confirmation page
On the confirmation page below click on the button that says, “Return to Merchant”.
Step 7: check your new balance.
Once you return to the system you will see your new balance.

Step 8: check your Transaction History
You can click on the menu item “Transaction History” to confirm the payment.

If you encountered any problems during this process, contact our tech support team for assistance.