Recording the video
Step 1
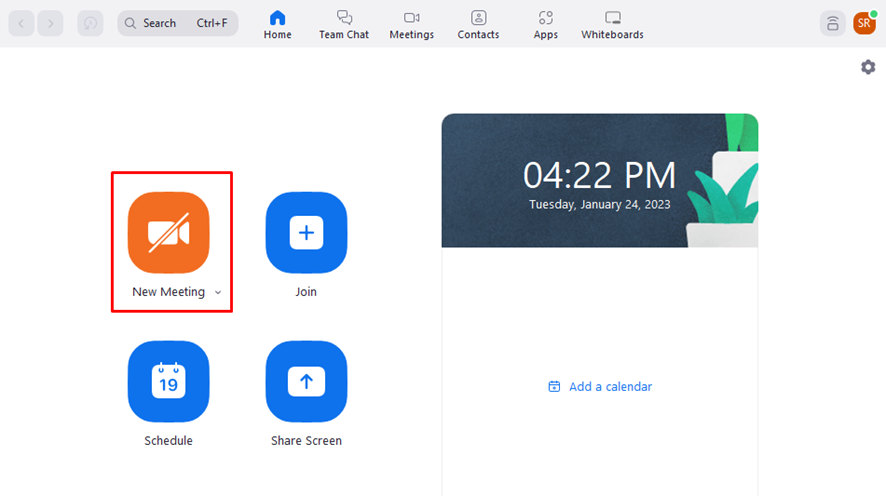
Open the Zoom desktop app and enter a new meeting.
Step 2
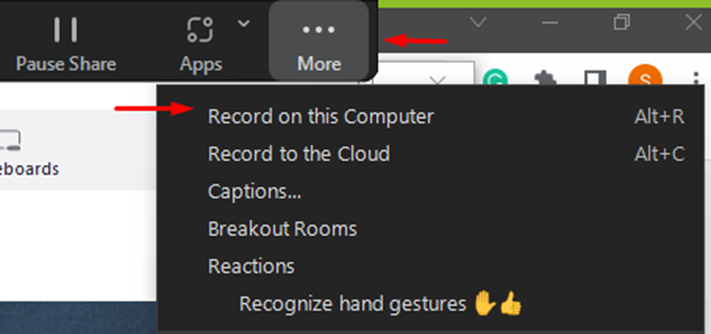
This will open a meeting room for you. Here you can present using the Share Screen option and Video or whichever additional materials your assignment requires. Select the Record on this computer option once all materials are ready and your settings are correctly arranged.
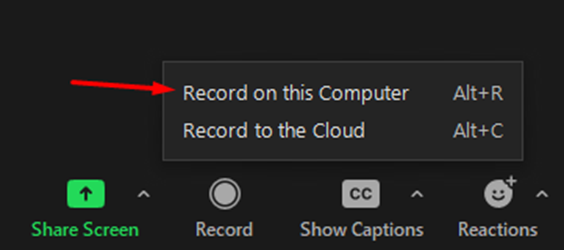
Note: If you are already sharing, you must use the More button to access the recording options.
Step 3
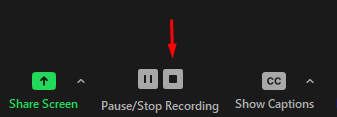
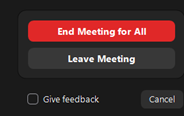
Stop the recording and exit the meeting when you’re done with your presentation. The recording should be downloaded to your computer.
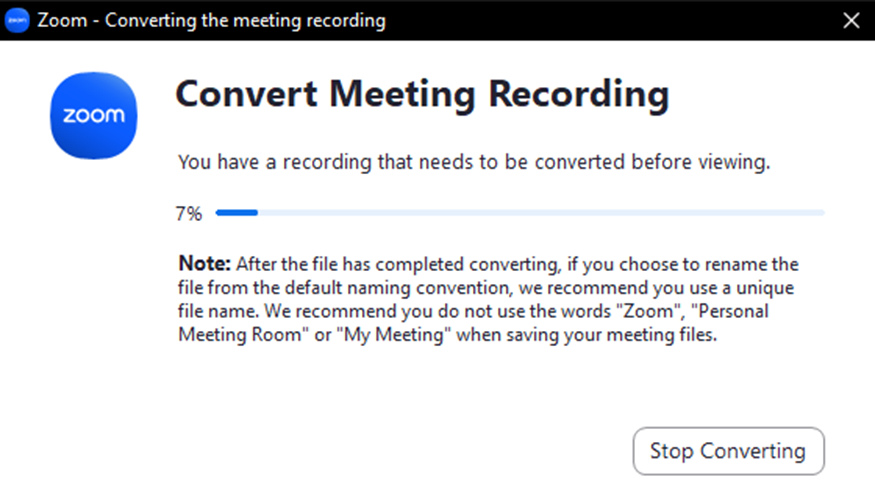
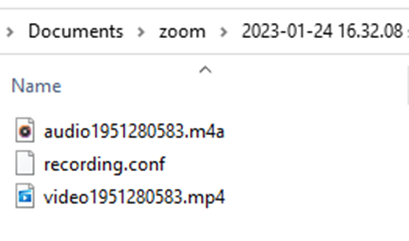
Note: if you can’t find your downloaded video, try searching your “Downloads” folder
Step 4
If needed, you can trim your recording after the download
Windows: The most straightforward tool to trim videos is the Photos program provided by Windows 10. Learn about this at How-To Geek.
Mac: The best tool is the iMovie program on all Mac systems. Apple provides excellent instructions on how this is done.
Uploading to OneDrive
Step 1
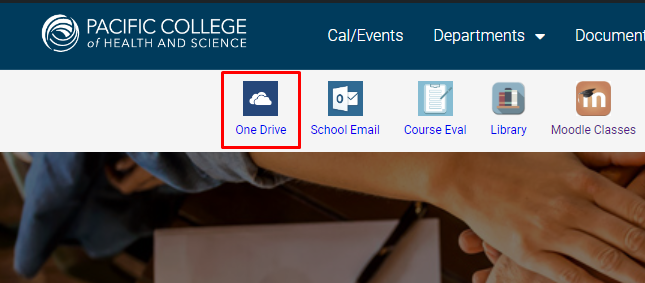
Go to the StudentHub. You can click on the OneDrive icon under quick links on the top left. This will open the OneDrive web page for you.
Step 2
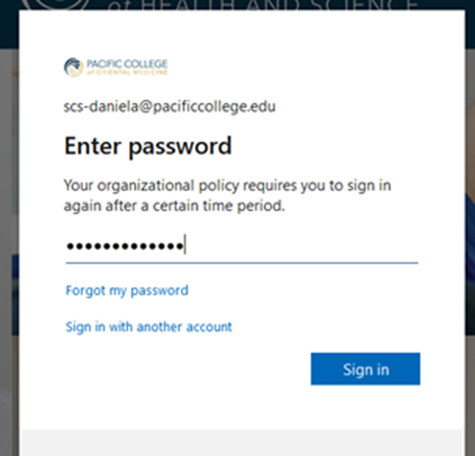
Log in with your Pacific College email and password.
Step 3
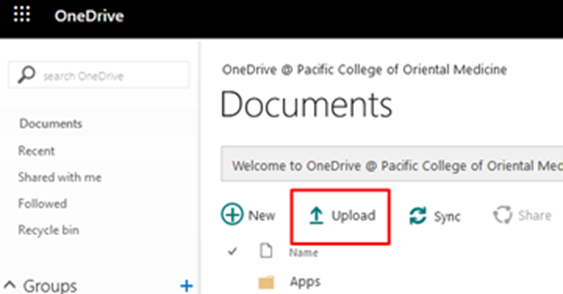
Click on Upload.
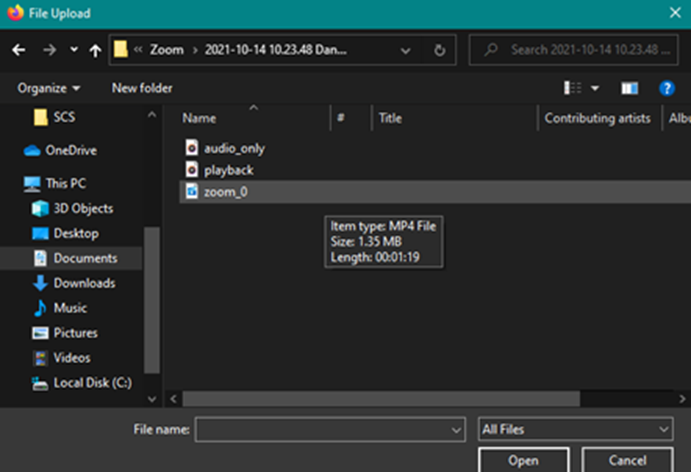
Step 4
Browse your computer to select the correct video. Click on Open, and your file should be uploaded to your One Drive.
Sharing the link for your assignment
Step 1
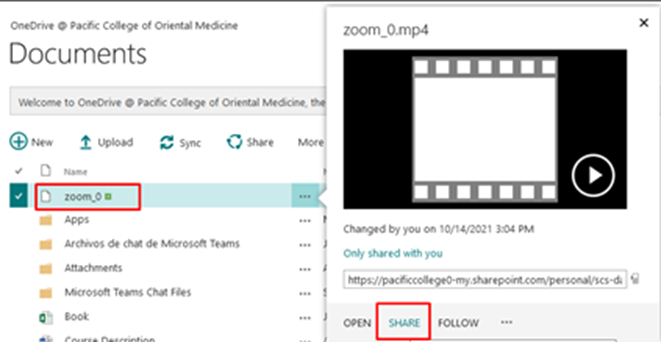
Once the upload is completed, click on the three dots on the side of your video file and click on Share.
Step 2
Click on Get a link, configure your Sharing settings, and copy the link shown to you.

Note: In this case, the permissions selected will only allow users with a PCHS account to access the video.
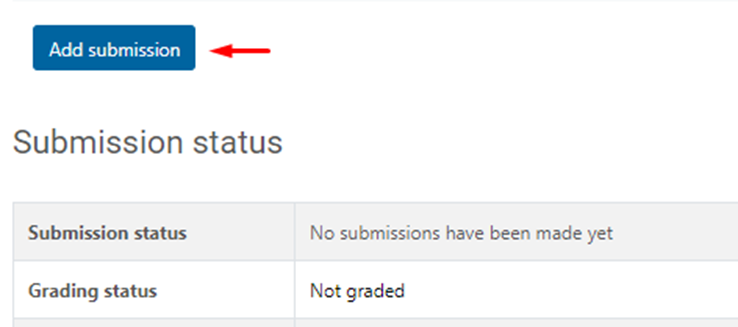
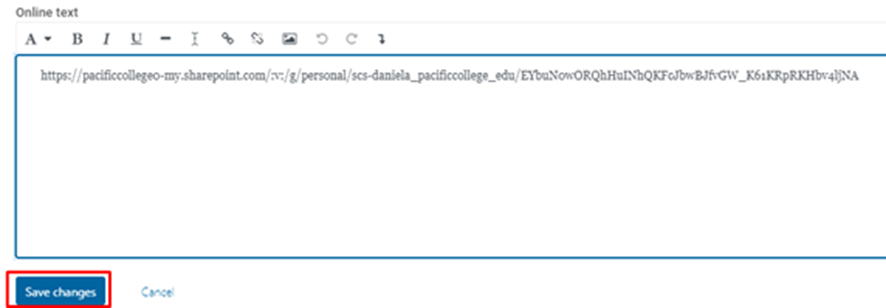
Step 3
Go to your assignment’s submission box, paste the link under the Online Text box, and save the changes.