Overview
This guide explains how to access Microsoft Word Online using your PCHS student account. You will learn how to create a new document, open existing documents, and download files to your computer.
Important: Word Online automatically saves your work, so you don’t need to click “Save.” Be sure to rename your documents to keep them organized.
Instructions
Step 1: Sign in to Your PCHS Account on Office.com
- Open a browser and go to: www.office.com
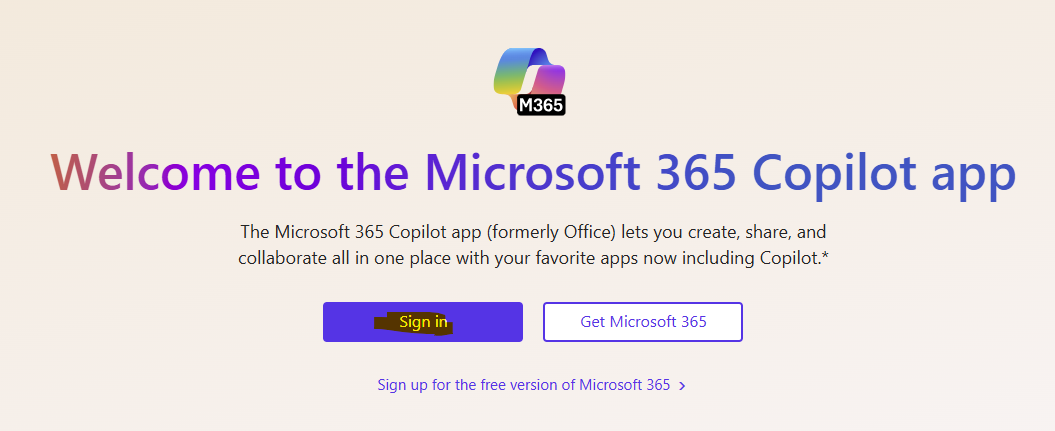
- Click Sign in Button. (You can ignore the Copilot app)
- Enter your PCHS email address and password.
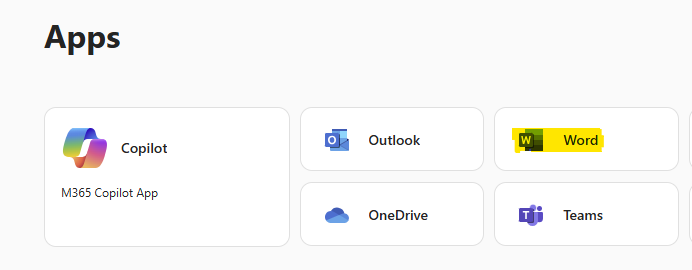
- Once logged in, click the App Launcher (grid icon) in the top-left corner.
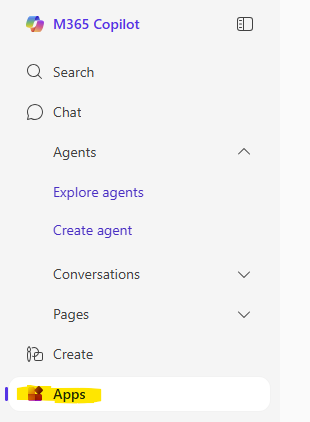
- Click on Word icon to access Microsoft Word Online App.
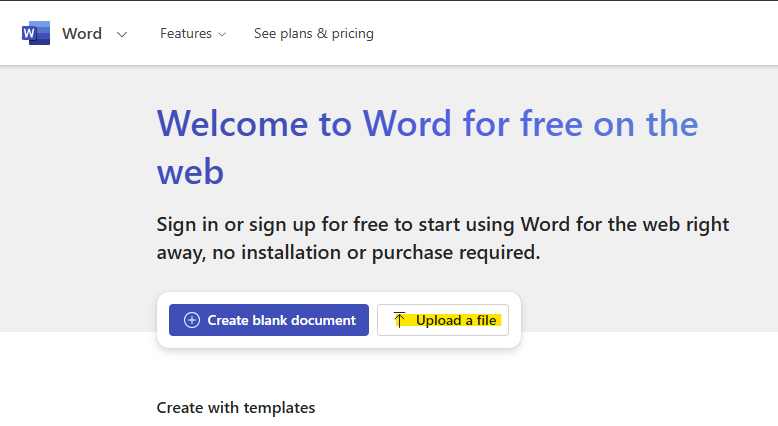
Step 2: Create a New Document
-
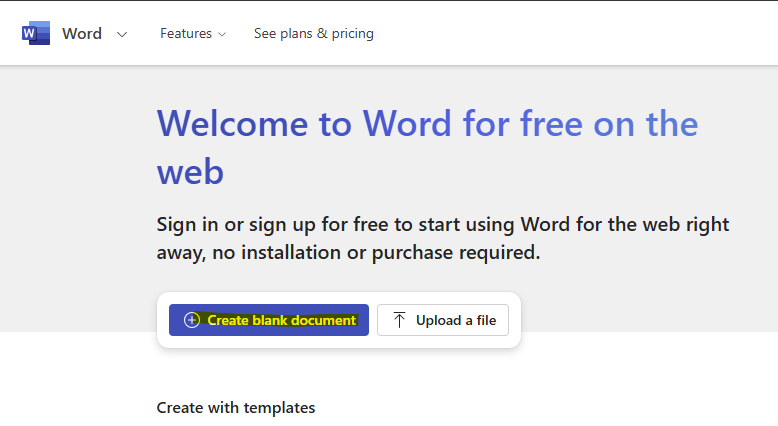
On the Word homepage, click New blank document.
-
A new document will open in your browser where you can start typing immediately.
-
To rename the document, click the document title (e.g., “Document1”) at the top, type your preferred name, and press Enter.
Step 3: Open an Existing Document
-
From the Word homepage, scroll down to the Recent documents list.
-
If your file isn’t listed, click More documents to browse all your saved files in OneDrive.
-
Click the document you want to open—it will open in a new tab.
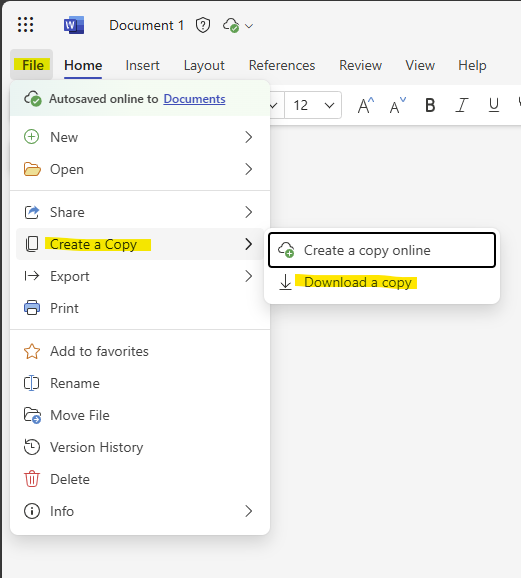
Step 4: Download a Document to Your Computer
-
With the document open, click File in the top-left corner.
-
Select Create a Copy from the menu.
-
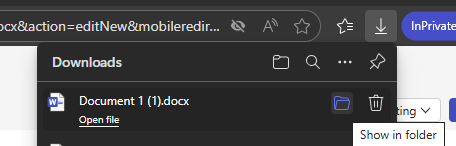
Click Download a Copy.
-
The file will download to your computer, usually to your Downloads folder.
Additional Resources
For questions about document formatting or to learn more about Microsoft Word features, visit:
https://support.microsoft.com/en-us/word