For file submission assignments, it is important to use Microsoft Word or a similar program to complete and save your work.
Assignments are usually available for a specific period, with a designated deadline for submission. It is up to the instructor to decide whether late submissions will be accepted. If you miss the deadline, it is essential to contact your instructor promptly to discuss the possibility of an extension.
While some assignments may allow unlimited editing after the initial submission, this is uncommon. In most cases, assignments can only be edited until the posted due date
Follow these directions closely
Step 1
Click on the assignment to which you want to submit your file.
Step 2

Step 3
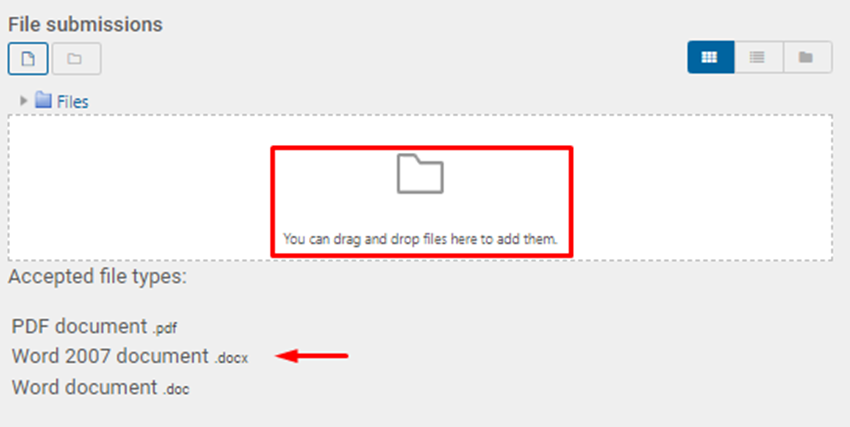
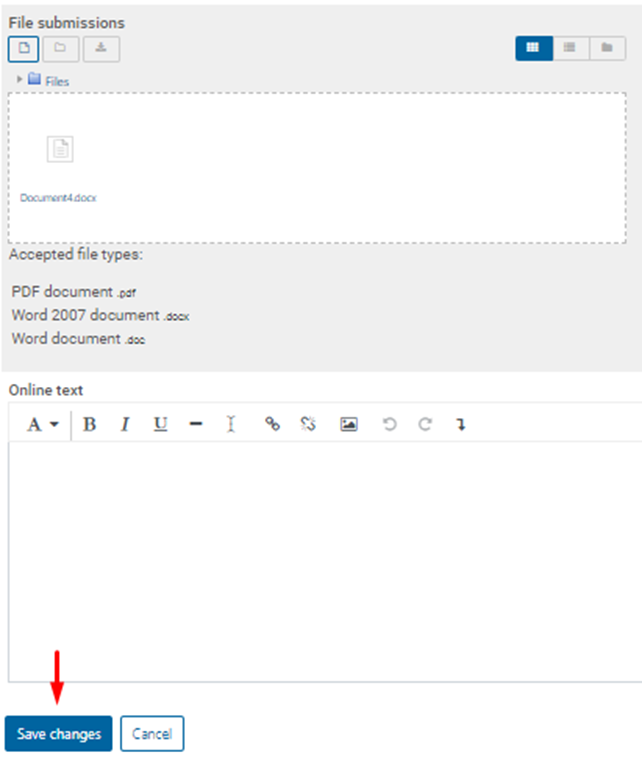
Then, drag and drop the file into the submission box, or you can click on the folder button to browse your hard drive for the file. Make sure you read the directions to see what types of files are accepted. You can see in the screenshot below which ones are allowed for this submission.
Step 4
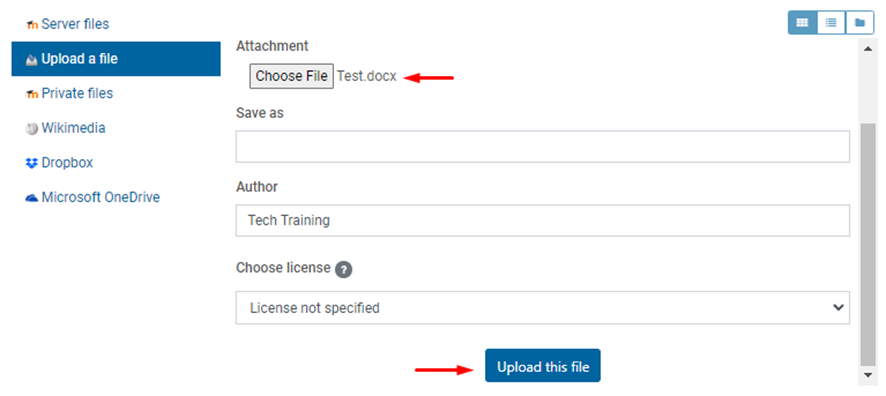
If you click the folder icon, the file picker window will open. If your file is located on your computer, select Upload a file from the left-hand menu of the file picker, and click the Choose File button to search for the file you want to upload.

You can upload from your Dropbox or OneDrive by choosing one of those options from the file picker instead.
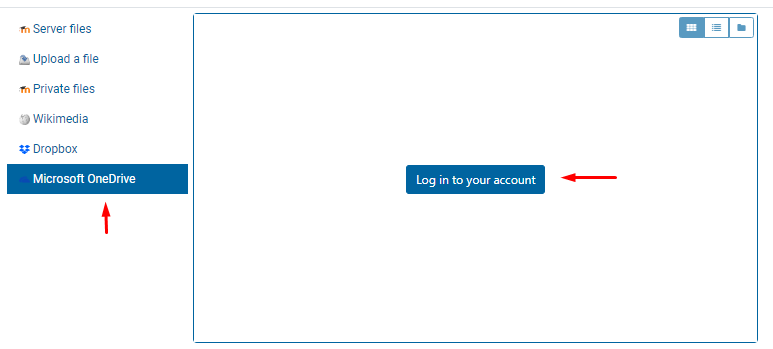
If you want to upload from your Pacific College OneDrive, make sure you enter your Pacific College credentials

Step 5
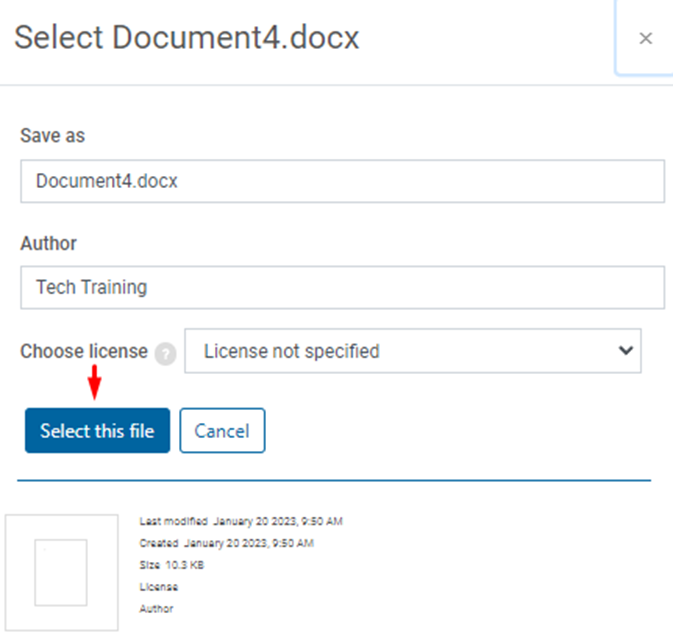
Locate the file and click it to ensure it is the file you want to upload.
If you are submitting a file stored on your computer, click on Upload this file once the file has been chosen.
If you are submitting a file stored in Microsoft OneDrive, click on the Select this file button.
Note: You can upload one or a few documents to complete the assignment in one submission. *If you are uploading several documents, make sure to do so in a single submission.
Step 6
After the files have been selected and uploaded, click on the Save changes button.
Step 7
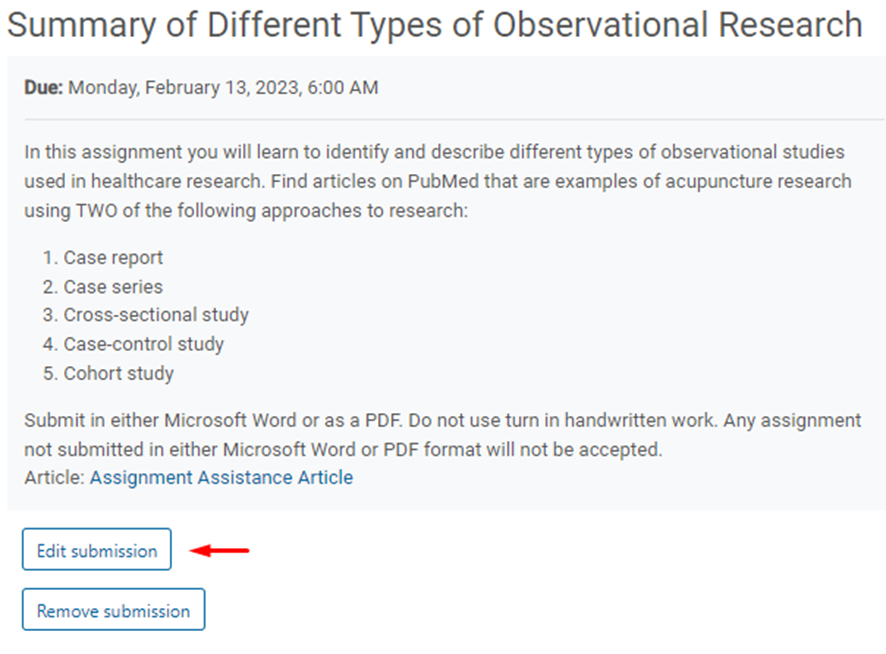
Usually, you will see the following screen. You can edit submission(s) up to the due date (or grace period, if your faculty allows one).
Step 8
After the due date (or grace period, if your faculty allows one), the assignment will typically convert to the Submitted for grading status. Note that the Edit submission button has disappeared. You can no longer modify the submission after this point.

Note: In some scenarios, the assignment will remain in “Draft submitted” status after the deadline. However, the teacher can still see and grade it. * you will see this depending on how the instructor sets up the assignment.
Edit submissions
After clicking Save Changes, the assignment will be submitted if no edits are done before the cut-off date.
Under some circumstances, you may need additional steps after uploading the file.
Step 1
Suppose the assignment allows clicking on Edit submission. This will enable you to submit new documents if needed. Save your changes before leaving the screen.

Step 2
Verify all information has been correctly submitted and that the status of your assignment is now Submitted for grading.
Note: In some scenarios, if you do not click the Submit assignment button before the deadline, the assignment will remain in “draft” status. However, the teacher can still see and grade it.
Tip: You can also review this helpful article on How to view Assignment feedback and comments